1

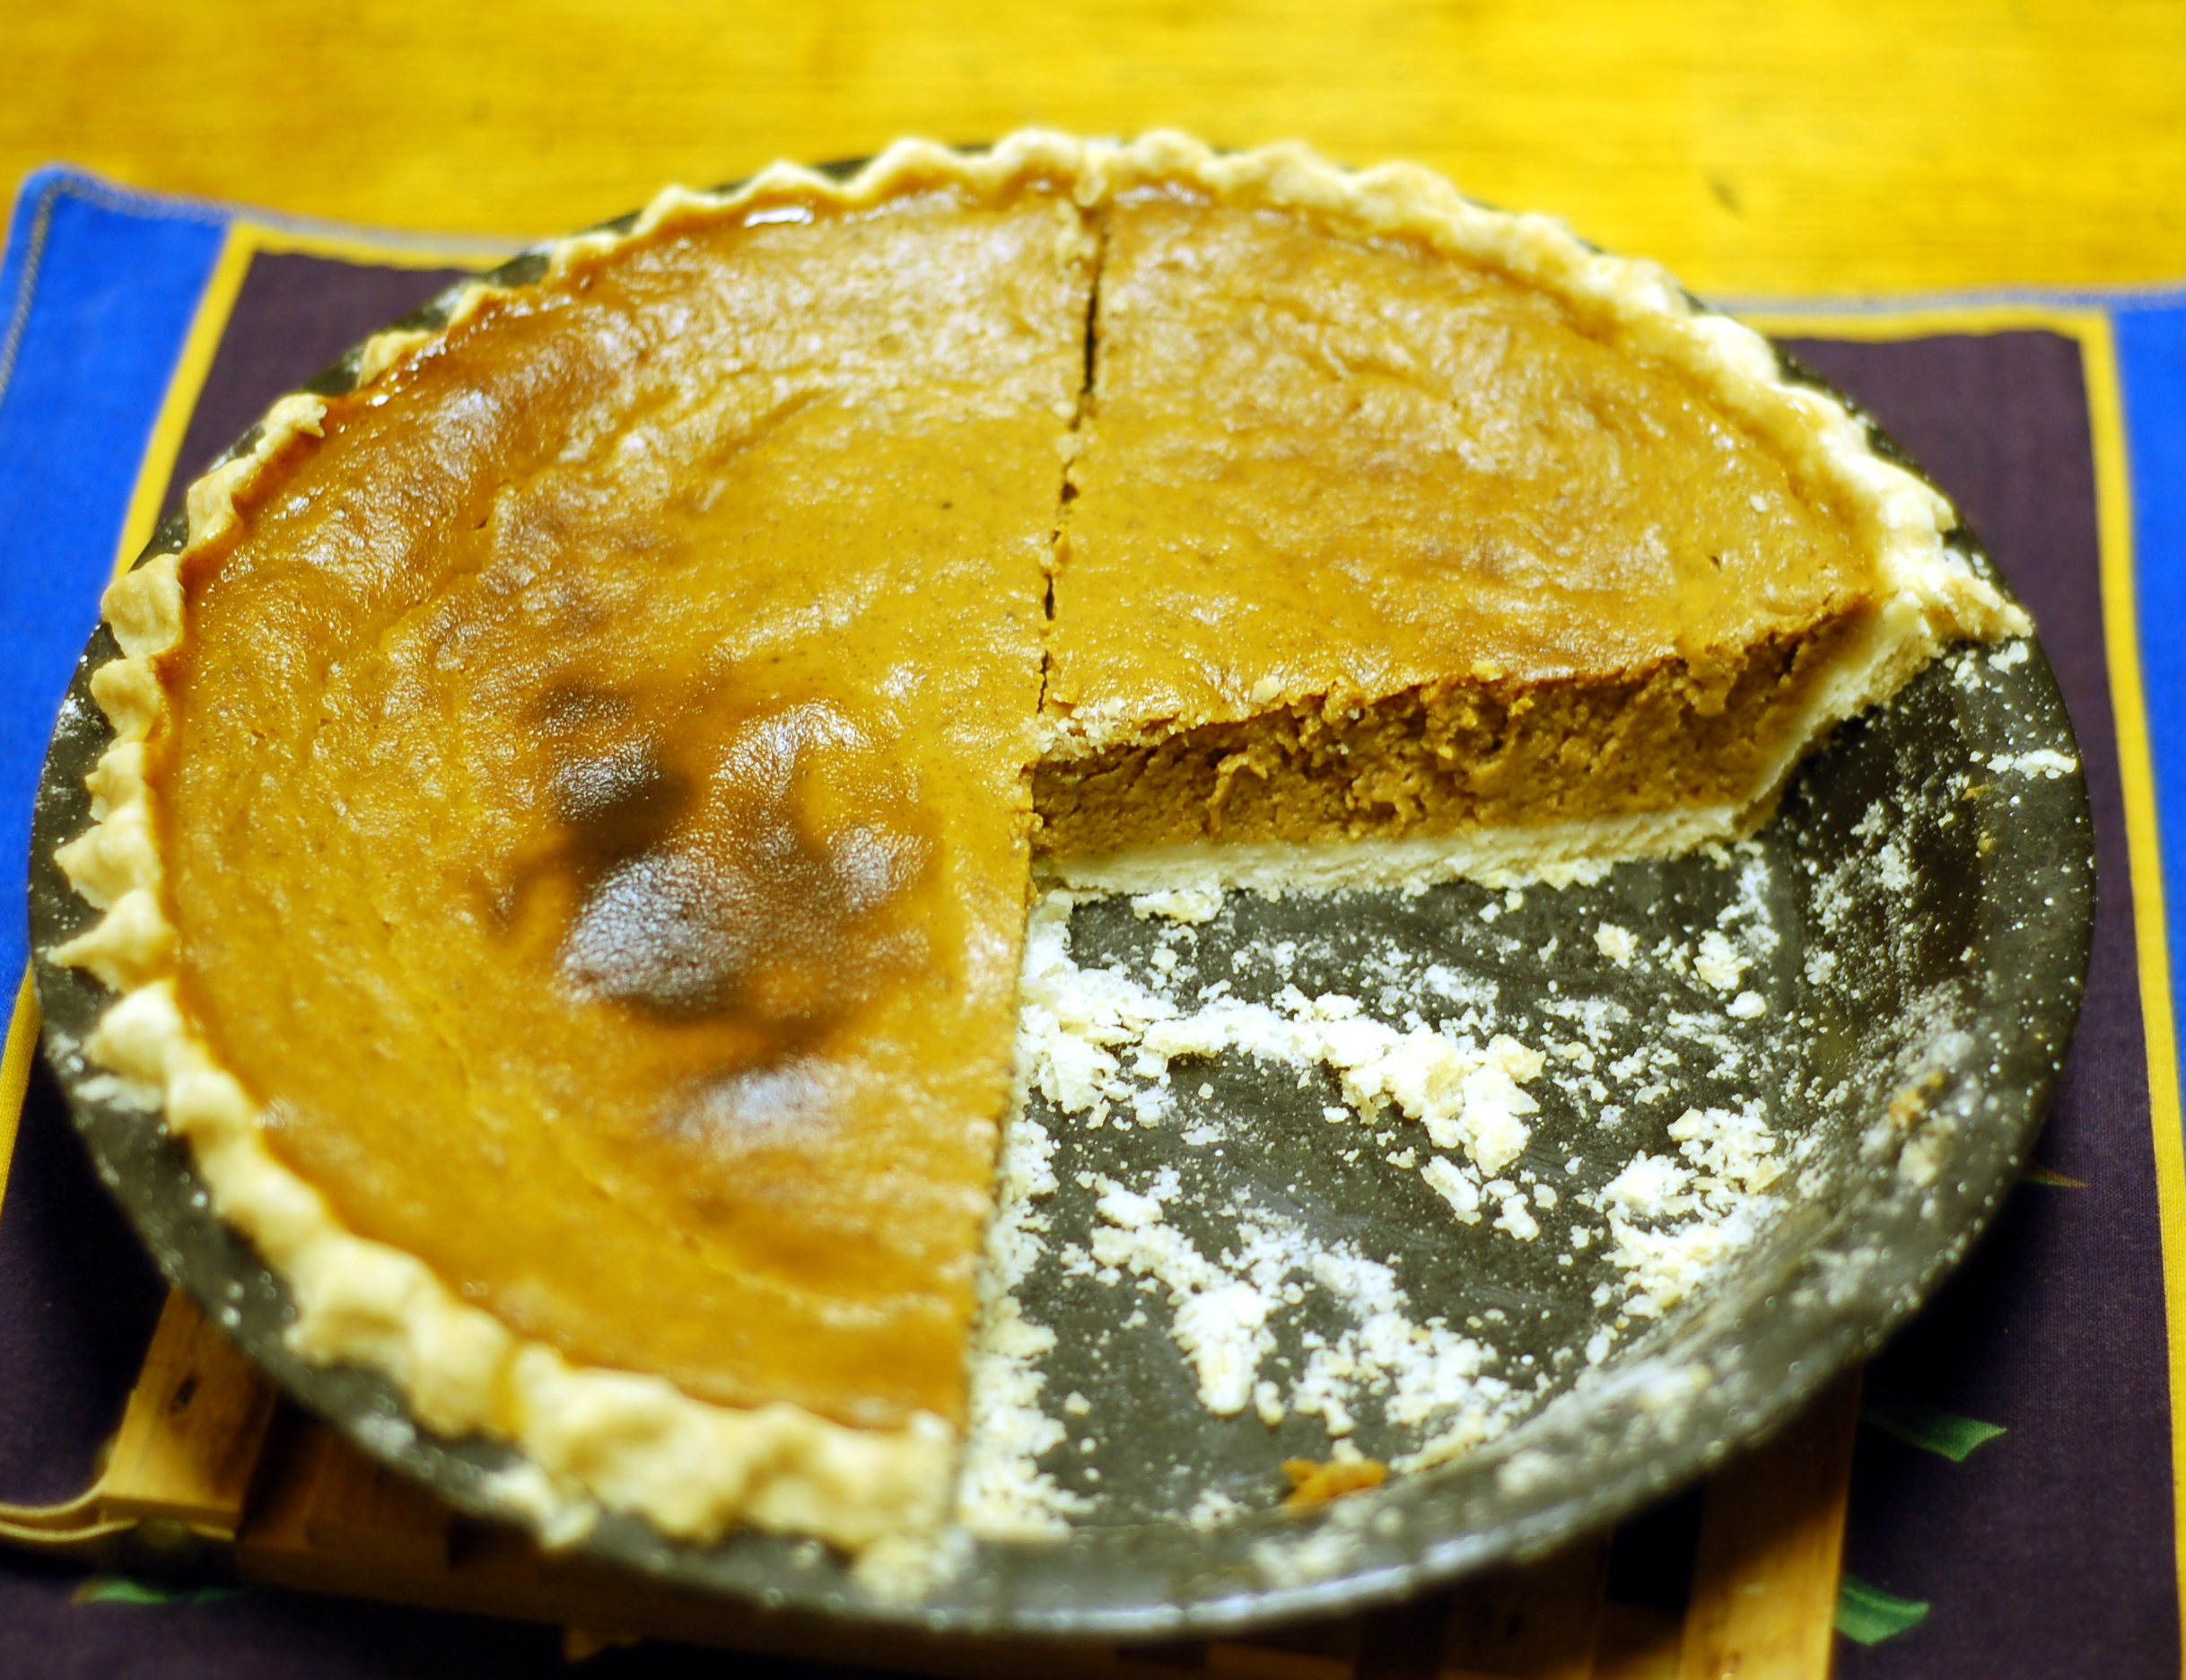
Carrot Pie (fake pumpkin pie)

Most people will not guess this is carrot pie–it passes as a pretty good pumpkin pie. The recipe is for a 8 or 9 inch pie pan, but you will have MORE than enough.

Ingredients

  • 3 cups (1.25 lbs.) of raw, peeled carrots
  • 1 cup sugar
  • 2 teaspoons ground cinnamon
  • 1 teaspoon ground allspice
  • 1/2 teaspoon ground cloves
  • 1/2 teaspoon ground ginger
  • 1/2 teaspoon vanilla extract
  • 4 large eggs
  • 1 can (12 oz) evaporated milk

Instructions

Carrot Pie
Carrot Pie

  1. Peel the carrots. Cut into small pieces.
  2. Put the carrots in a pan of water (enough to cover the carrots and provide a little room for them to swim around). Bring the water to a boil. Reduce heat and cook on a low boil/simmer for 20 minutes. Alternatively, you can steam the carrots to preserve more of the nutrients
  3. Puree the cooked carrots. A blender on a high setting works well (see my comment below). Apparently a food processor works well too. You could try hand crushing with a potato masher, or hand mixer, but I’m not sure you would be able to achieve the silky smooth texture you are looking for. TIP: I wasn’t able to really puree the carrots alone, so I added the can of evaporated milk to the carrots, while still in the blender.
  4. Make the pie crust. For obvious reasons, the hand made pie crust is greatly preferred (see my comment below).
  5. Mix the rest of the pie contents thoroughly, using a hand mixer or a spatula/spoon with a lot of effort.
  6. Pour the mixture into a pie pan. You will have plenty to fill it to the brim, and probably some left over. Feel free to use the leftover mixture in a second, smaller, pie or “crustless” pie.
  7. Bake at 400 F for the first 15 minutes. Reduce heat to 350 F, and bake for another 45 to 60 minutes or until a toothpick comes out clean. The center of the pie may puff up quite a bit during baking. It should settle back down as the pie cools.
  8. Serve warm, or refrigerate until you are ready to eat.

Culinary Tradition
USA (traditional)
My Rating (out of 5 stars)

COMMENTS:

  • I prefer to use the “old school” methods and equipment, when possible. However, a food processor or blender seems necessary to achieve the silky smooth texture we are looking for. Crushing the carrots by hand probably will not yield the same results.
  • If you are going to the trouble of making this recipe, rather than using the pumpkin pie filling from a can or (gasp) buying a frozen pie, then you owe it to yourself and your family to make the pie crust. It’s not that difficult.
  • Some people might compare this recipe to the Sweet Potato Pie (another one of my favorites), found at http://k-line.org/9/2010/03/16/sweet-potato-pie/. While the look is similar, most people won’t confuse the taste of Sweet Potato Pie with Carrot Pie or Pumpkin Pie.


Recipe: Old fashioned Cream Pie (Grandma Truex, modified)

Old fashioned Cream Pie.
Grandma Truex’ Recipe (modified)

Summary: A fast, easy and delicious pie, with no top crust

Ingredients

Grandma and Grandpa Truex
Grace and Will Truex. This is her recipe, modified.

  • 1 Tablespoon butter
  • 6 Tablespoons flour
  • 1 1/4 cup sugar, half white and half brown (i.e. about 5/8 cup of each)
  • 1 egg*
  • 1 1/3 cup milk*
  • sprinkle a bit of cinnamon (optional)*

Instructions

  1. Dab butter in an unbaked pie shell.
  2. Mix the flour and sugar in a bowl. Add the egg.
  3. Slowly add the milk as you stir. Add enough to make a paste first, and then gradually add in the rest of the milk. If you add the milk too quickly, it will not all dissolve, and you’ll get a crusty layer on top of the cream when it bakes. Mix well.
  4. Poor in the pie shell. Sprinkle a bit of cinnamon on top (optional).
  5. Bake at 390 degrees for 30 minutes. Reduce heat to 325 degrees and bake until thick. After about another 20 or 30 minutes (50-60 minutes total, from when first placed in oven), a toothpick should come out clean. Refrigerate after it cools. Some people like to eat cream pie warm. I prefer it after it’s been in the refrigerator for a day.

*[note, the original recipe called for 1 1/3 cup milk & cream (half milk and half cream), with no egg. Instead, I use all milk and add an egg. Also, the original recipe did not call for any cinnamon.]

CulinaryTradition: USA (Traditional)

My rating: 5.0 stars
*****


Pie Crust (aka “Pastry”)

Recipe: Tom’s Pie Crust

Summary: This is the traditional recipe for making pie crust (called “pastry” by some), as taught to me by my grandmother. These basic instructions are in pretty wide use, and used generally by most everyone I know who makes pie crust.

Ingredients

{For one pie crust, for an open face pie such as pumpkin pie. Double the recipe if you need a top and bottom crust, as in the traditional closed apple pie}

  • 1/3 cup shortening or lard.
  • 1 cup all purpose flour (not self rising)
  • 1/4 to 1/2 teaspoon salt (omit if desired)
  • ice water

Instructions

Quick Instructions: Mix shortening and flour. Add water until mixture just sticks together in a ball. Roll out, and put in a greased and floured pie pan.

Detailed Instructions:

  1. Cut the shortening into the flour and salt (salt is optional). I use my hands, but there is a kitchen tool for this purpose, if you don’t like getting flour on your hands.
  2. Mix thoroughly until all traces of shortening are blended into the flour. Be gentle. Don’t maul the mixture. The goal is to have a slightly sticky feeling powder. If you can’t get all the clumps out, you may need to add a bit more flour. If your mix is too powdery, you may need to add a bit more shortening. I tell whether the mix is right by the feel. If you’re not sure, just use the ratio suggested here–1 shortening to 3 flour. If you are ready to proceed, then go to the next step. Usually I stop here, put the mixture in a covered bowl in the ice box and make my pie filling at this point. As mentioned below, a chilled mix works well.
  3. Spoon in ice water one teaspoon at a time. Use ICE water, but don’t let the ice fall in the mixture. Cold water–which chills the whole mixture–works much better than room temperature. You want to get the pastry just moist enough to stick together. Note, you want “moist” not “wet.” If you want an estimate, you will probably need to add a couple of tablespoons to each half (top or bottom crust). But do NOT add all the water all at once. Do it slowly, and work it together gently with your hands. Again, don’t maul the mix, but you need to mix the water in. As before, I do it by hand. If the mix is gooey, like toothpaste, then you added too much water. You might be able to salvage it by adding a bit of flour, or you might be better off just chucking it in the waste can, and starting over. Shortening and flour are the cheapest ingredients in most pies, so there’s no great loss in starting over.
  4. Form the mixture into a ball. Flour the top and bottom. Put an ample amount of flour on the surface you are going to roll the dough on. Put on the clean hard surface to roll out the dough with your rolling pin. Roll the dough into a circle shape a little larger than the pie pan. Dust the top of the dough with flour periodically in order to keep the dough from sticking to the rolling pin.
  5. Separate the dough from the rolling surface. I use a long knife to gently pull the crust up without tearing it. This is a good place to take a break. Maybe check on the pie filling, or the score of the ballgame. Waiting a few minutes is not required, but may help in keeping the dough from tearing in the next step.
  6. Fold the pie crust in half (for the top crust) or quarters (for the bottom crust). Grease the pie pan with shortening, and dust it with flour. Then put the pie crust in the pan and unfold it. The point of folding the dough is to prevent it from tearing as you move it. Press the dough into the pie pan. Cut any excess from around the edge. I never re-use the trimmings, though I’m not sure it would be disaster, if you did. You can use the trimmed pie crust as patches to fix tears or holes in the crust. Wet one side of the patch and apply it the area to be repaired.
  7. Repeat for the top crust, if needed.

NOTES: I have used a bit of vegetable oil in lieu of all of the shortening when I ran low–without any ill effects. There is a recipe which calls for ALL vegetable oil instead of shortening, though I’ve never personally tried it. Also, I think you are safe in omitting the salt altogether. I can’t taste any difference in the saltless version, and I doubt most people could.

CulinaryTradition: USA (Traditional)

My rating: 5.0 stars
*****